BK-BDT-001 Multifunctional Push and Pull Tester Machine Bond Tester
Product Overview:
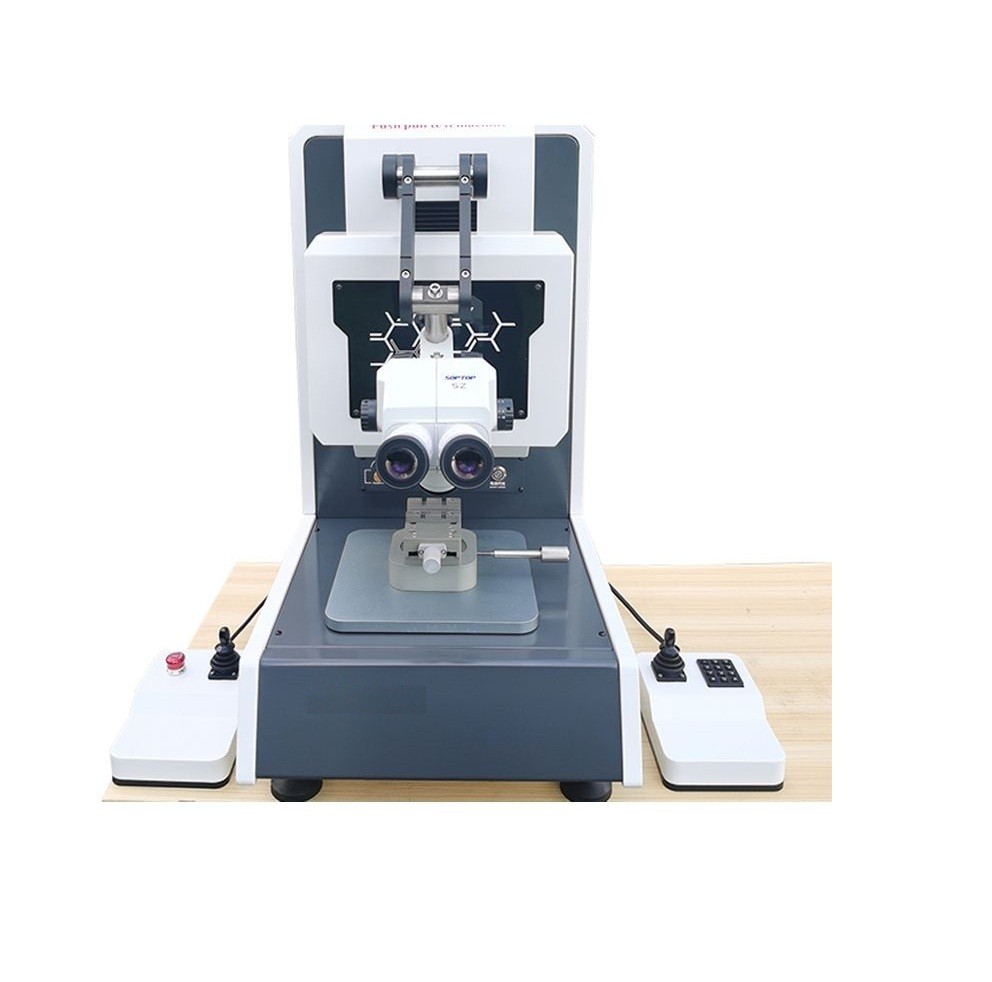
A fully automated multifunctional push-pull testing machine designed for testing the strength of microelectronic wire bonding, adhesion between solder joints and substrate surfaces, and repetitive thrust fatigue testing of solder balls (internal wire tension testing, micro solder joint thrust testing, gold ball thrust testing, chip shear force testing, SMT welding component thrust testing, and BGA matrix overall thrust testing). The equipment is widely used in semiconductor packaging, LED packaging, smart card packaging, communication electronics, automotive electronics industry, as well as various research institutes, universities, electronic circuit failure analysis and testing.
The maximum travel in the X direction of the standard workbench is 80mm and the maximum travel in the Y direction is 80mm (optional with a 100mm/200 mobile platform); The maximum speed during movement is 5 millimeters per second;; Y direction can withstand a maximum force of 100 kilograms; The maximum travel in the Z direction is 75mm; The maximum speed during movement is 5 millimeters per second; Can withstand a maximum force of 100 kilograms (optional with a large thrust of 500 kilograms). One joystick on each side is convenient for machine operation and software operation; Powerful data processing function and simple operation mode, convenient and practical. Curved design for easy adjustment of microscope bracket and 60X magnification of microscope. Stable and durable LED lighting source, easy to operate, with mutual conversion between Chinese and English. All testing modules adopt intelligent digital closed-loop design; The testing method adopts VPM's vertical traction and vertical positioning technology; The sensor adopts precise dynamic sensor technology and has a powerful hardware system for data processing and calculation methods to ensure the stability and reliability of test data.
Technical parameters:
1. Tensile testing accuracy: The sensor range can be selected according to the table below, with a comprehensive testing accuracy of 0.1%;
(Different range sensors can be configured according to customer needs);
2. Low thrust test accuracy: The sensor range can be selected according to the table below, with a comprehensive test accuracy of 0.1%;
(Different range sensors can be configured according to customer needs);
3. High thrust testing accuracy: The sensor range can be selected according to the table below, with a comprehensive testing accuracy of 0.1%;
(Different range sensors can be configured according to customer needs);
4. The software is open for selection: pressure testing, thrust fatigue testing, chip height measurement, and arc height measurement;
5. X workbench: effective stroke 80mm; Resolution 0.001mm (larger travel can be customized according to customer needs);
6. Y workbench: effective stroke 80mm; Resolution 0.001mm (larger travel can be customized according to customer needs);
7. Z workbench: effective stroke 75mm; Resolution 0.001mm (larger travel can be customized according to customer needs);
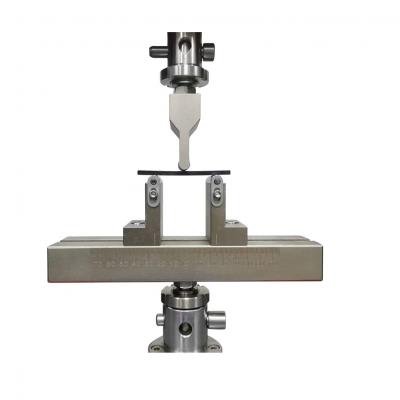
8. Platform fixtures: The platform can share various fixtures, and the fixtures can rotate 360 degrees;
9. The four axis motion platform adopts imported transmission components to ensure high-speed and long-term stable operation of the machine;
10. Dual joystick control for four-way machine movement, easy and fast operation;
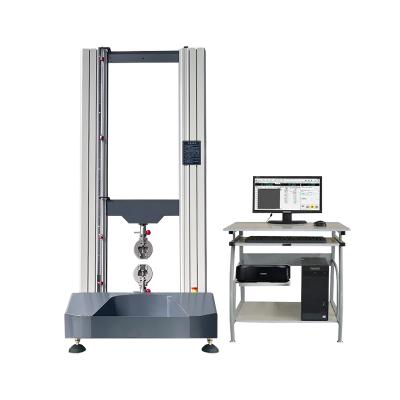
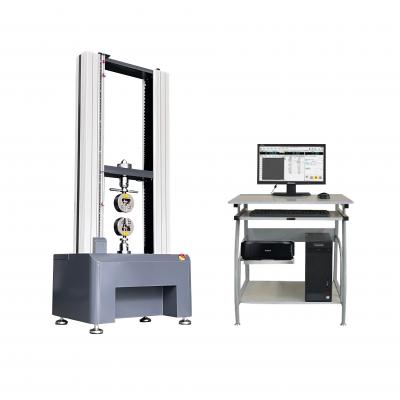
11. The machine comes with a computer and a Windows operating system, with simple software operation.
The display screen can display 20 sets of test data and force distribution curves at once; And can export and save data in real-time;
12. Appearance dimensions: length 570mm * width 400mm * height 670mm;
13. Power supply: 220V ± 5% Power: 300W (max);
14. Drive: Adopting Japanese Panasonic servo motor drive, providing stable, wide adjustable speed drive, high speed, low vibration, and high-speed positioning.
15. Transmission: Adopting high-precision ball screw wheel transmission, high efficiency, high rigidity, small deformation, and low noise;
16. Guidance: Using chrome steel rods from South Korea for four column guidance, with excellent wear resistance and coaxiality;
17. Drive: It is driven by a Japanese Panasonic servo motor, providing stable, wide adjustable speed drive, high speed, low vibration, and high-speed positioning.
18. Displacement measurement: Using a Japanese LINE high pulse (10000r/p) photoelectric encoder to measure displacement, up to 0.0001mm;
19. Force measurement: Adopting imported high-precision explosion-proof tension and compression load cells, with an accuracy of 0.03% F.S
20. Frame outer cover: It is formed by cutting cold rail steel plates and subjected to electrostatic spraying treatment, which is corrosion resistant, rust proof, and full of texture;
21. Machine base: Made of 45 # mold steel through grinding, welding, and horizontal positioning treatment with a professional fitter's level. It is sturdy and durable,
and the surface is treated with electrostatic spraying, which is corrosion-resistant, rust proof, and full of texture;


